
Fall Sensory Play Ideas for Kids
Fall Sensory Play Ideas for Kids
Fall is the perfect season to bring the magic of sensory play to life. The vibrant colors, cozy scents, and natural textures offer endless opportunities for hands-on learning — and the best part? You can set up these activities with simple, everyday materials you probably already have at home or in your classroom.
Whether you’re a parent, caregiver, or educator, these fun, affordable, and developmentally appropriate ideas will make learning through play a breeze.
Seasonal Sensory Bin Ideas
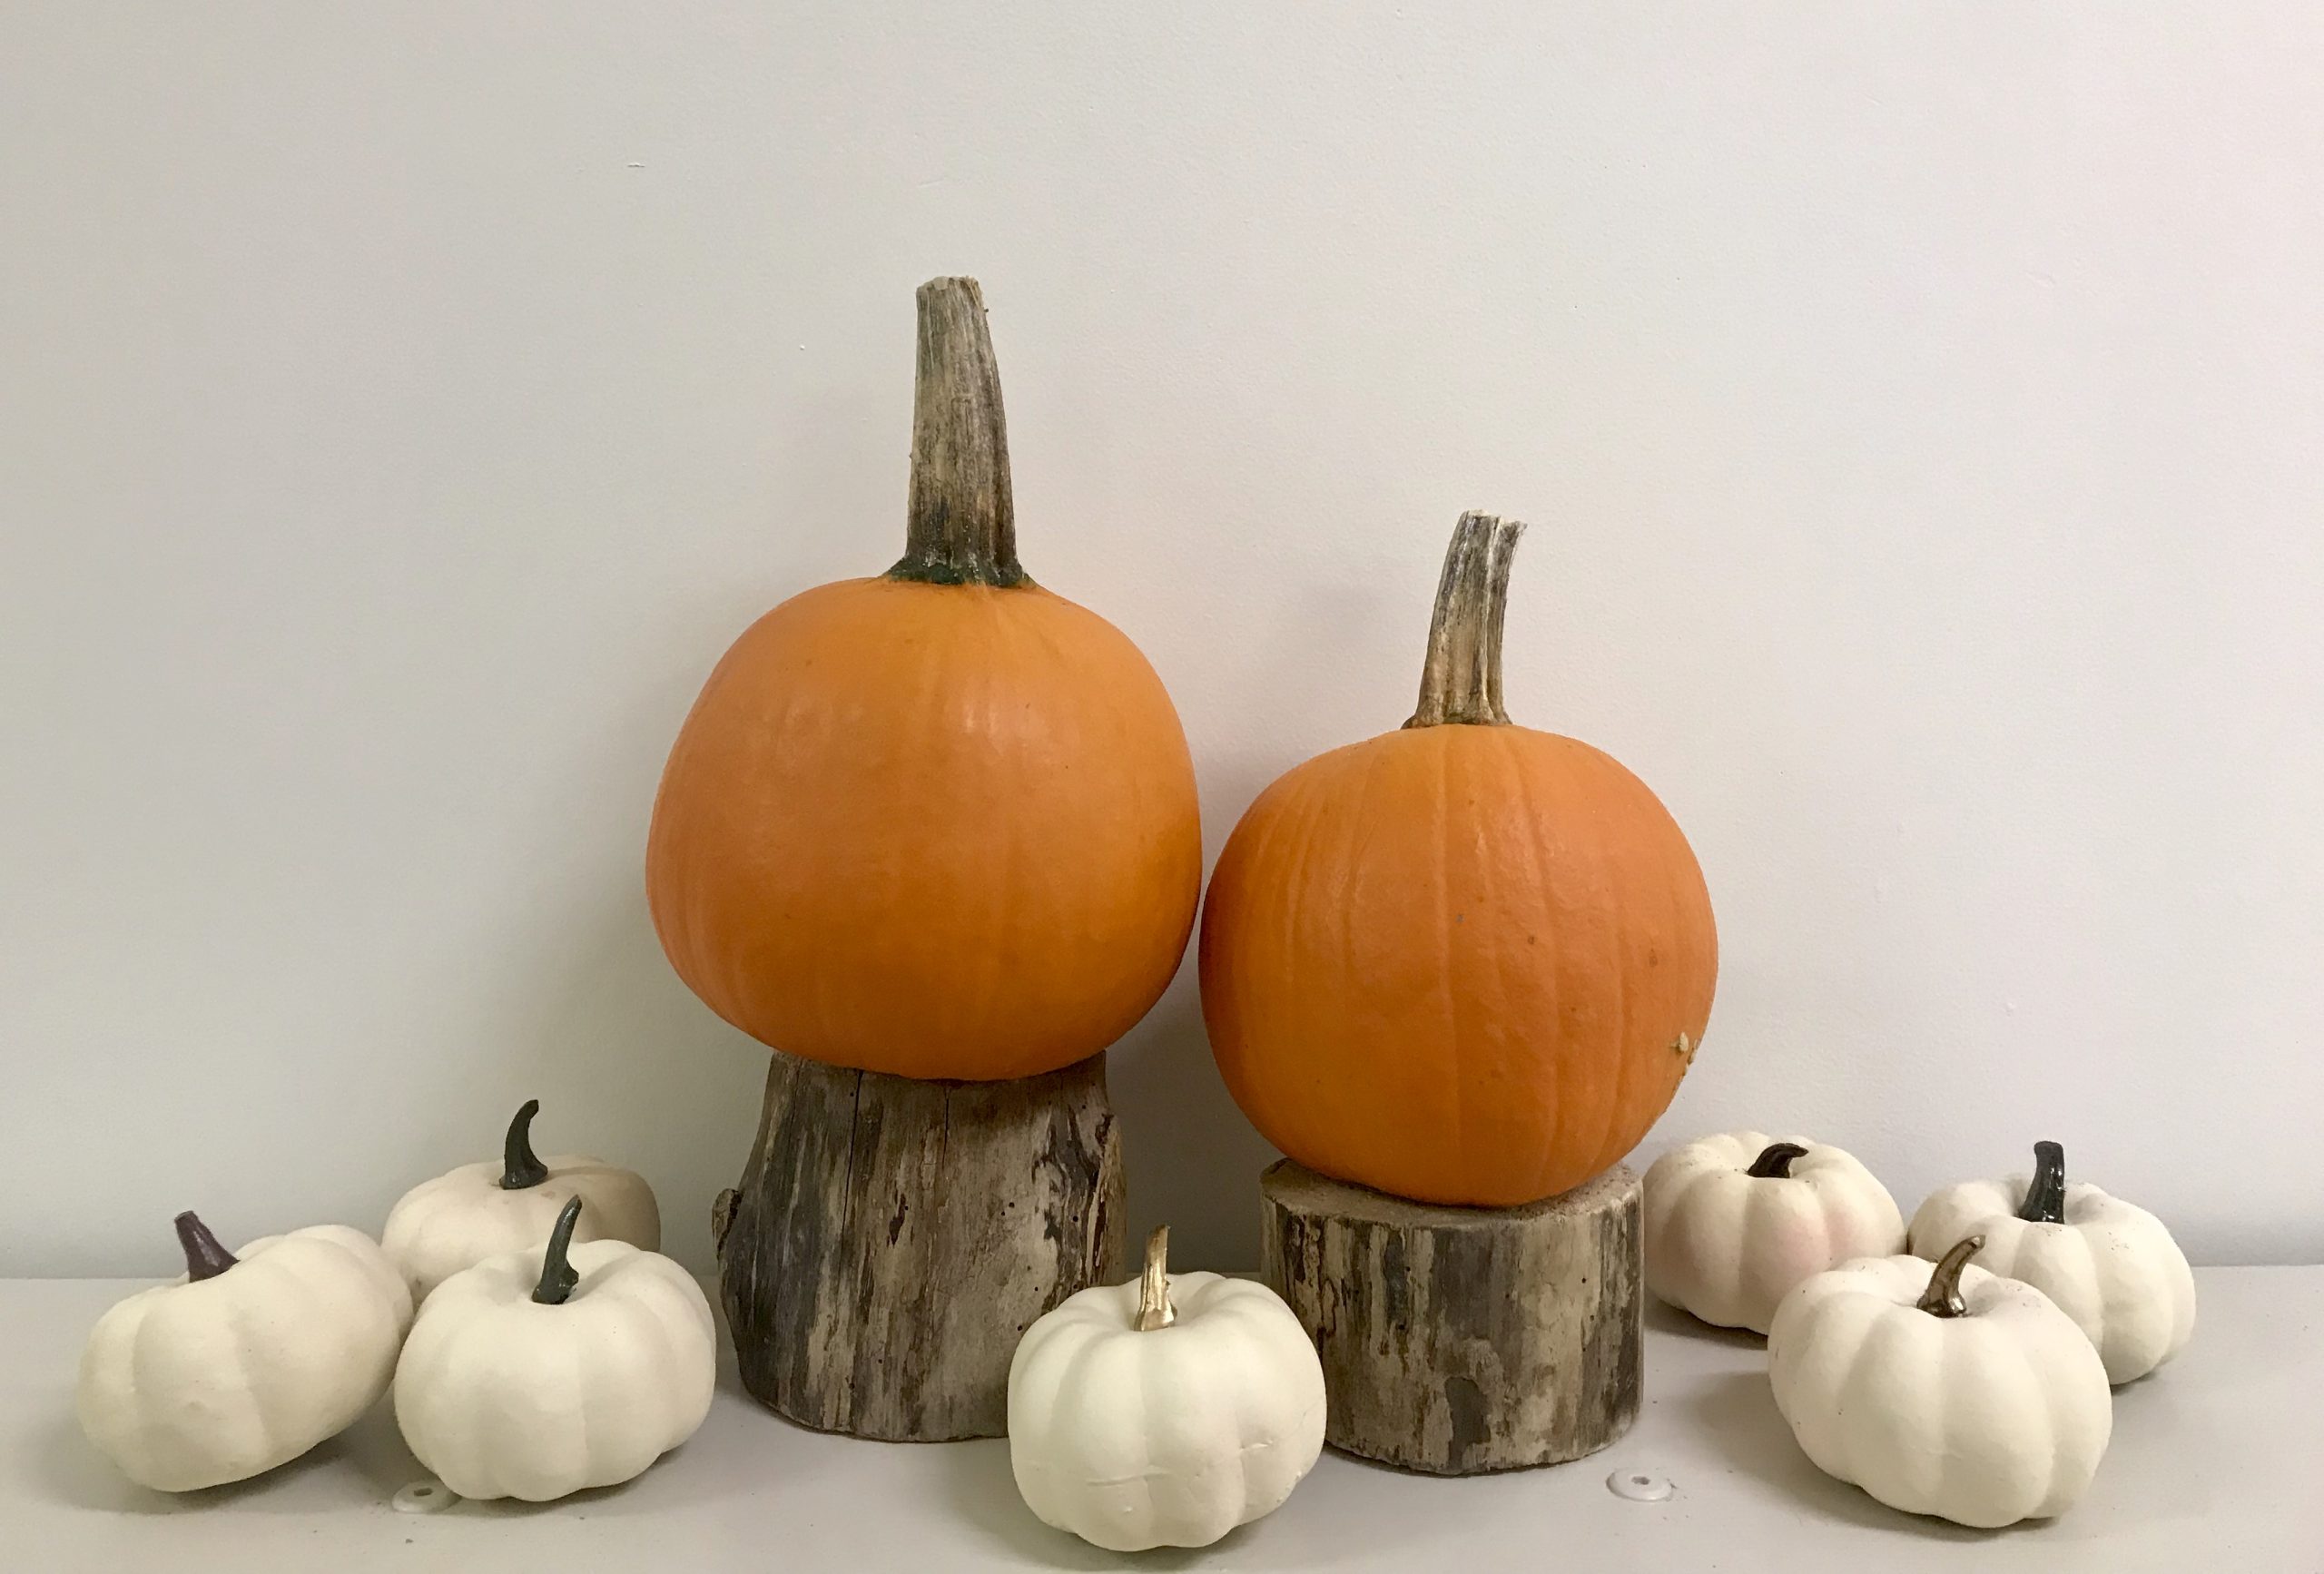
- Pumpkin Patch Bin 🎃
- What You Need: Dried corn kernels, mini pumpkins, small scoops, cups, and a shallow bin. If you have a child under 3, you can substitute the corn kernels with water, sand or shredded paper.
- How to Play: Children can scoop, pour, and “plant” the pumpkins while practicing fine motor skills.
- Apple Orchard Bin 🍎
- What You Need: Red pom-poms (to represent apples), cinnamon sticks for scent, small baskets, tongs/tweezers and scoops.
- How to Play: Encourage kids to “pick” the apples, count them, and sort them into the baskets.
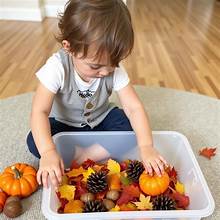
- Autumn Nature Hunt Bin 🍂
- What You Need: Real or faux leaves, pinecones, acorns, twigs, and magnifying glasses. Add some scoops, tongs/tweezers and plastic containers to sort the items.
- How to Play: Invite children to explore different textures and shapes while talking about colors, sizes, and patterns. Older kids can take on a sorting challenge and sort by colour, size or type of item.
Fall-Themed Sensory Play Recipes
Pumpkin Spice Play Dough ✨
Bring the smell of fall indoors with this cozy, hands-on activity that kids will love.
- What You Need: Flour, salt, cream of tartar, water, oil, orange food coloring, and pumpkin spice.
- How to Play: Roll, squish, and sculpt pumpkins, leaves, or letters for endless fun.
- Bonus: Watch this quick video for the play dough recipe and see how you can make homemade pumpkin spice play dough in just minutes.
Outdoor Sensory Adventures
Don’t forget — sensory play doesn’t have to stay indoors! Here are a few ways to take the learning outside this season:
- Leaf Crunch Walk 🍁
Take a walk and collect fallen leaves. Once you’re back, sort them by size, color, or shape. This simple activity builds vocabulary, observation, and sorting skills — plus, nothing beats the satisfying crunch of stepping on fall leaves.
- Nature Sound Hunt 🎧
Head outside with a simple checklist and invite kids to listen for the sounds of fall — rustling leaves, chirping birds, or the wind blowing through the trees. For younger children, keep it simple with picture prompts; older kids can check off or even draw what they hear.
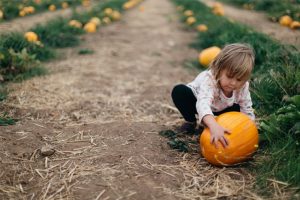
- Pumpkin Washing Station 💦
Grab a few buckets, fill them with warm water, and add scrub brushes for a simple, engaging cleanup station. Kids will love washing and scrubbing small pumpkins while developing hand strength and coordination.
Mess-Free Sensory Options
Need something quick and cleanup-friendly? Try these simple, no-mess sensory setups:
Fall Sensory Bags 👜
- What You Need: Zip-top bags, water, glitter, leaves, and small seasonal items like faux flowers or mini acorns.
- How to Play: Fill the bag, seal tightly (tape edges for extra security), and secure it to a table or window. Children can squish, press, and explore without any mess.
- Bonus: Watch this quick video to see how you can make a sensory bag in just minutes.
Tip: Want more ideas like this? Get step-by-step guidance in my Sensory Play Made Simple mini-course — perfect for parents and educators looking for easy, play-based learning setups.
Final Thoughts
Fall is such a sensory-rich season — and the perfect time to explore the world through touch, sound, sight, and even smell. Whether you’re setting up a pumpkin patch sensory bin, heading outdoors for a leaf crunch walk, or creating a mess-free sensory bag, each of these activities helps children build important skills while having fun.
Ready to take your sensory play to the next level? Check out my Sensory Play Made Simple mini-course for more easy, affordable, and brain-boosting ideas that you can start using today.
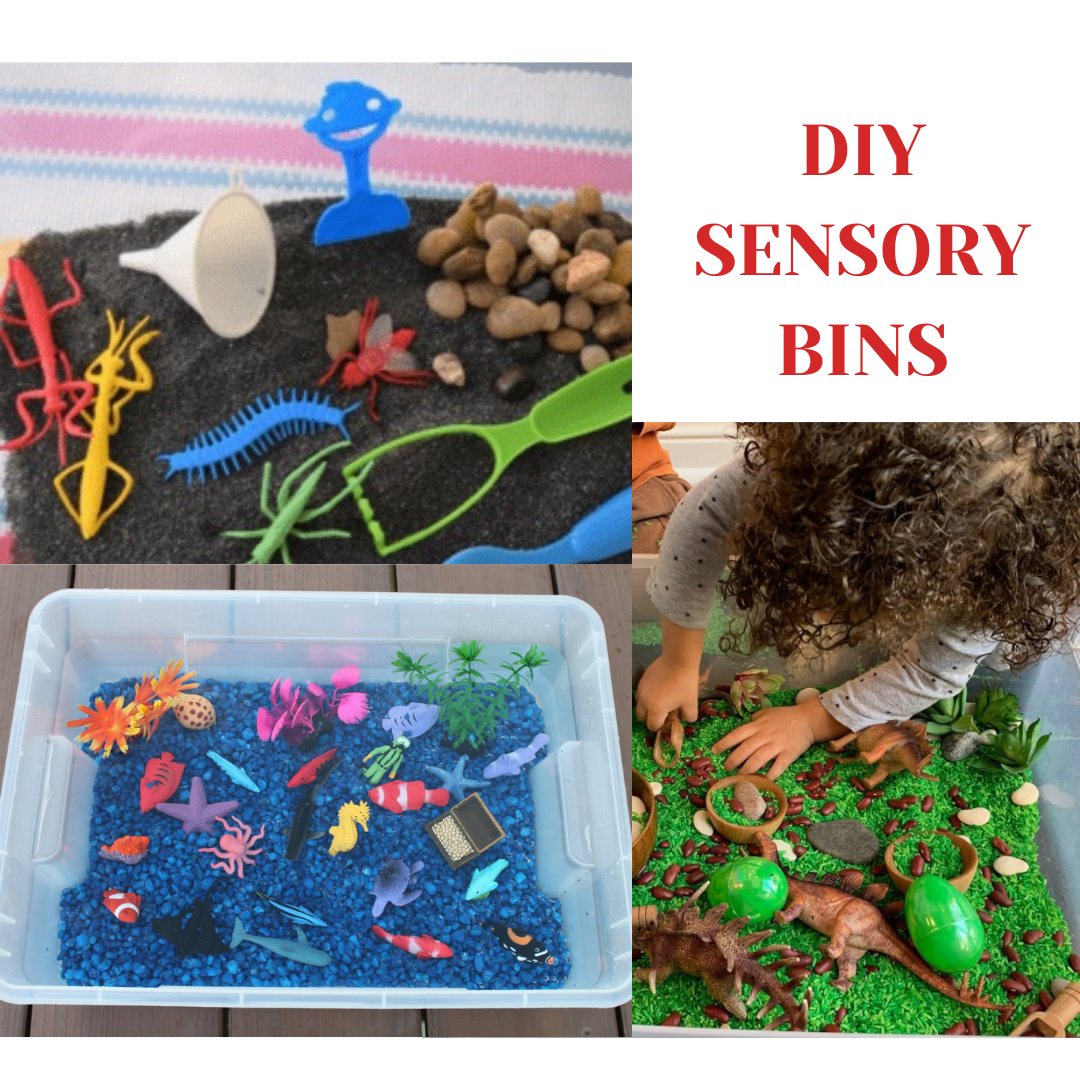
DIY Sensory Bins – How to Make your Own Sensory Bin
DIY Sensory Bins – How to Make your Own Sensory Bin
Sensory bins are an amazing educational tool for children to learn about their world using their senses! Young children tend to gravitate toward sensory play as they tend to explore their world with their senses. The benefits of sensory play are numerous. Sensory play helps children to focus, helps them to feel calm and it develops many skills from cognitive to physical to social skills.
Recently, I saw that a local craft store was selling pre-made sensory bins for $25 but you can make your own for a lot less. At Alpha’s Discovery Kids Preschool and Daycare, we make individual sensory bins for each child and change the items in the bins almost every day. Here’s a step-by-step guide to making your own sensory bin.
To make your own sensory bin, you first need to know what it is! A sensory bin is a hands-on sensory experience for kids, in a contained area such as a storage container. It contains many different items that can be explored using your senses.
STEP 1: CHOOSE A CONTAINER
When choosing a container, consider your space and choose something that will fit in your space. The size of the bin will depend on the age of the child, but as a rule, try to find the biggest container that your child can manage. The child should be able to hold the bin and take it from a shelf independently. Plastic clear containers are best with a good lid that seals well. You don’t have to spend a lot on the container as you can usually find them at a dollar store for a few dollars.
STEP 2: CHOOSE THE FILLER
The sensory bin filler is the item that makes the sensory fun. Please note that you can change your filler often – but we recommend at least once per week to make it interesting for your child and keep it clean. Some examples of fillers are: water, sand, rocks, water beads, shredded paper, coloured Epsom salt, play dough, fake grass, fake snow, wooden beads and natural elements (leaves, twigs, soil, seeds). You can also choose food items such as beans, dry pasta and rice but we prefer not to use food items, to minimize food waste. Keep in mind your child’s age and ability when choosing a filler (including potential choking hazards) and ensure that play is always supervised by an adult.
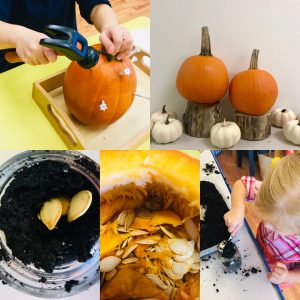
STEP 3: ADD ITEMS
Once you have the filler, the next step is to add items that spark the child’s interest. One of the best parts of sensory bins is all the filling, dumping, pouring and transferring that takes place! When adding items, you are only limited by your own imagination – or your child’s if they choose their own items to add. The items you add will depend on what type of filler – for example, you will have different items if the filler is water vs. wooden beads. Here’s some ideas for items: sifter, sieve, smaller containers, watering can, shovel, buckets, animals, dinosaurs, cars, dolls, spoons, small bowls, rolling pin, cookie shape cutouts, etc. You can also choose a theme for your bin to focus the learning on a specific concept – such as bugs, oceans, or rainbows.
Step 4: HAVE FUN!
The best part of making sensory bins, is getting to enjoy them with your child! We encourage you to play and explore along side your child!
For more information about our Four Pillars of Learning Curriculum, visit our curriculumcurriculum page.
For more ideas on how to engage with your child, visit our Youtube page.